Physical Address
304 North Cardinal St.
Dorchester Center, MA 02124
Physical Address
304 North Cardinal St.
Dorchester Center, MA 02124
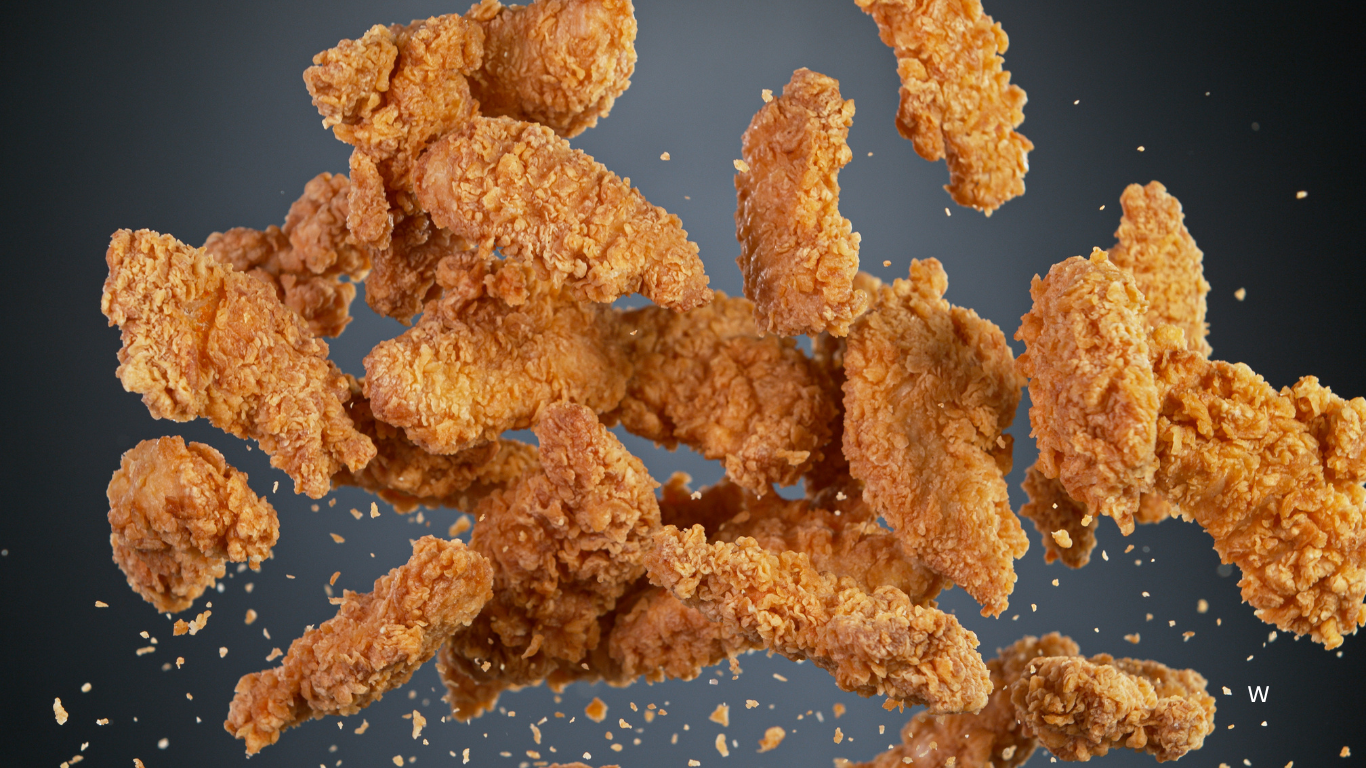
Craving crispy, golden chicken strips without the hassle of deep-frying? Your air fryer is about to become your best friend. This kitchen gadget delivers perfectly cooked chicken strips with minimal oil, giving you all the crunch and flavor you love without the guilt.
Whether you're whipping up a quick weeknight dinner or prepping a snack for game day, timing is everything when it comes to air fry
Craving crispy, golden chicken strips without the hassle of deep-frying? Your air fryer is about to become your best friend. This kitchen gadget delivers perfectly cooked chicken strips with minimal oil, giving you all the crunch and flavor you love without the guilt.
Whether you’re whipping up a quick weeknight dinner or prepping a snack for game day, timing is everything when it comes to air frying. Get it just right, and you’ll enjoy juicy, tender chicken with a satisfying crispy coating. Too long, and you risk drying them out. Let’s dive into how to nail that perfect cook time for your chicken strips.
Cooking chicken strips in an air fryer requires precise timing to achieve the perfect balance of a crunchy exterior and tender interior. Follow this guide to cook flavorful chicken strips with ease.
Preheat your air fryer to 400°F for 5 minutes. Place the seasoned or breaded fresh chicken strips in a single layer in the air fryer basket. Cook them for 10-12 minutes, flipping the strips halfway through the cooking time for even crispiness. Use a meat thermometer to ensure an internal temperature of 165°F.
No need to thaw—set your air fryer temperature to 400°F. Arrange frozen chicken strips in a single layer without overcrowding. Cook for 12-15 minutes, flipping halfway through. Check for golden, crispy edges, and confirm the internal temperature reaches 165°F.
For best results, avoid stacking or overloading. This ensures even air circulation and consistent cooking throughout your chicken strips.
Ensure all your ingredients are prepped and ready to streamline the cooking process. Use fresh chicken tenders for a juicier texture or defrost thoroughly if opting for frozen tenders.
To cook perfectly crispy and juicy chicken strips in your air fryer, having the right tools is essential. Below are the key items you’ll need to ensure a seamless cooking process.
An air fryer is the most important tool for this recipe. Choose a model with a basket large enough to fit your chicken strips in a single layer for even cooking. Preheat your air fryer to 400°F for the best results. If your air fryer has a non-stick basket, that’s a bonus to prevent sticking while making cleanup easier.
You’ll need a pair of sturdy kitchen tongs to flip the chicken strips halfway through cooking. Flipping ensures both sides cook evenly and develop a crispy, golden exterior. Select tongs with heat-resistant tips to avoid damaging your air fryer basket.
Lightly coat your air fryer basket with cooking spray before placing the chicken strips. This prevents the strips from sticking and promotes a crispier texture. Opt for a neutral oil spray like canola, avocado, or olive oil for the best flavor and browning. Avoid aerosol-based sprays that can damage your air fryer’s non-stick surface.
Follow these steps to make perfectly crispy chicken strips in your air fryer. Ensure all ingredients and equipment are prepared before beginning.
Preparing air fryer chicken strips ahead of time can save you effort while ensuring a quick, delicious meal when needed. Follow these steps to make the process seamless:
After coating the chicken strips in the flour, egg, and breadcrumb mixture, arrange them on a parchment-lined baking sheet in a single layer. Ensure there is enough space between the strips to prevent sticking. Cover the tray tightly with plastic wrap or aluminum foil and refrigerate for up to 24 hours.
For extended storage, place the coated chicken strips on a baking sheet and freeze uncovered for 1-2 hours until solid. Once frozen, transfer them to an airtight container or freezer-safe bag, separating layers with parchment paper to avoid sticking. Label the bag with the freezing date, and store in the freezer for up to 3 months.
Refrain from fully cooking the chicken strips before refrigerating or freezing, as reheating already cooked strips in the air fryer can result in an overcooked, dry texture. Preparing the chicken uncooked ensures a tender and juicy outcome when cooked to serve.
Making air fryer chicken strips ahead of time is a practical way to enjoy this crunchy, golden dish without last-minute hassle.
Once your chicken strips are perfectly crispy and golden from the air fryer, it’s time to elevate your meal with complementary sides and dipping options. Consider these serving ideas to make your dish truly satisfying:
With these ideas, you can customize your air fryer chicken strips to suit any occasion.
Cooking chicken strips in an air fryer is a simple, healthier way to enjoy a crispy, flavorful meal with minimal effort. By following the recommended steps and adjusting for factors like thickness and air fryer model, you can achieve perfectly golden strips every time. Whether you’re making them fresh or from frozen, the process is quick, efficient, and versatile.
With the right tools, ingredients, and a little preparation, you’ll have a delicious dish ready to pair with your favorite sides or dipping sauces. Experiment with flavors and serving ideas to make each meal unique and satisfying.